インソースマーケティングデザイン
2021.01.15 コーディング
【VScode】XDプラグインでスニペットを作成する方法
2020年10月にVScodeとXDの連携が可能になりました。
VScodeのXDプラグインでスニペットを作成する方法をご紹介します。
事前準備
- XDにてアセットライブラリの作成を行なってください。作成したアセットライブラリからスニペットを作成します。
- VScodeにXDプラグインをインストール(インストールはこちら)
手順
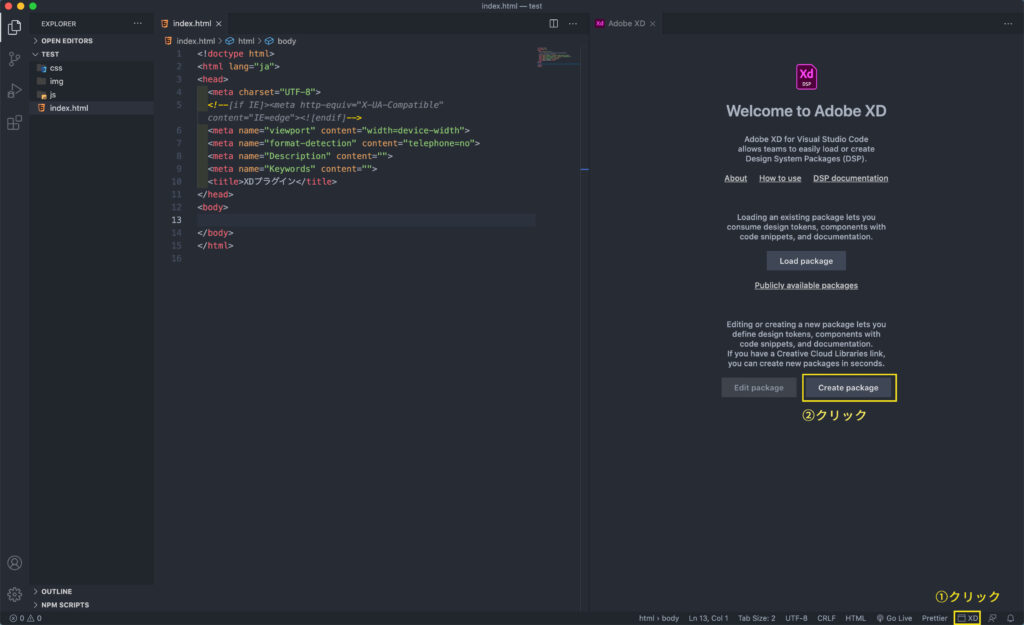
①VScodeでXDプラグインを起動。
②DSP(Design System Package)を作成。
※「How to use」から解説動画(英語)が閲覧可能です。
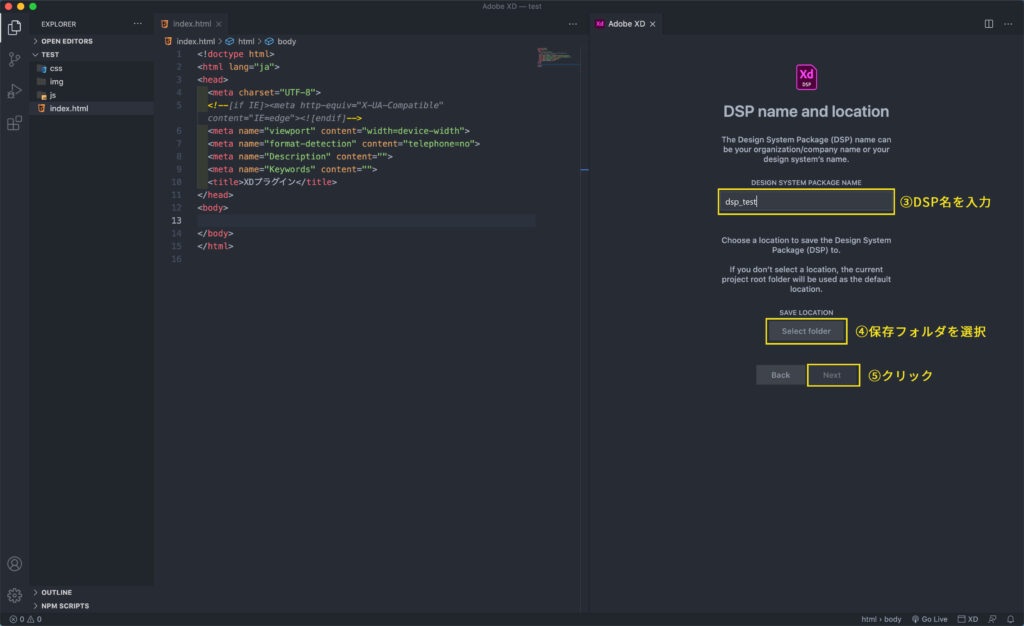
③DSP名を入力。
④DSPを保存するフォルダを選択。
⑤次へ。
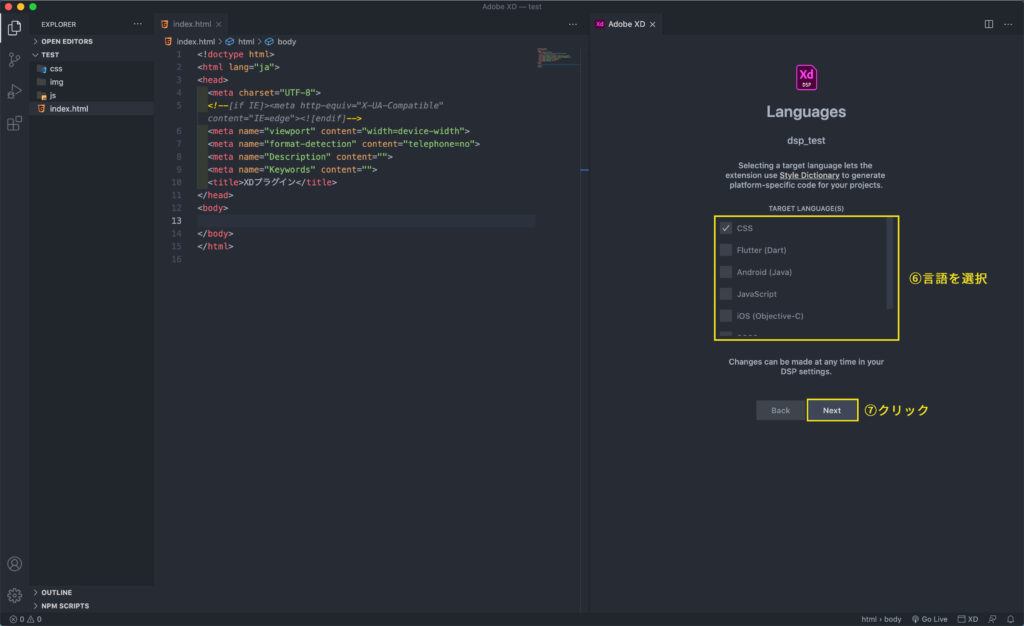
⑥DSPで使用する言語を選択。
⑦次へ。
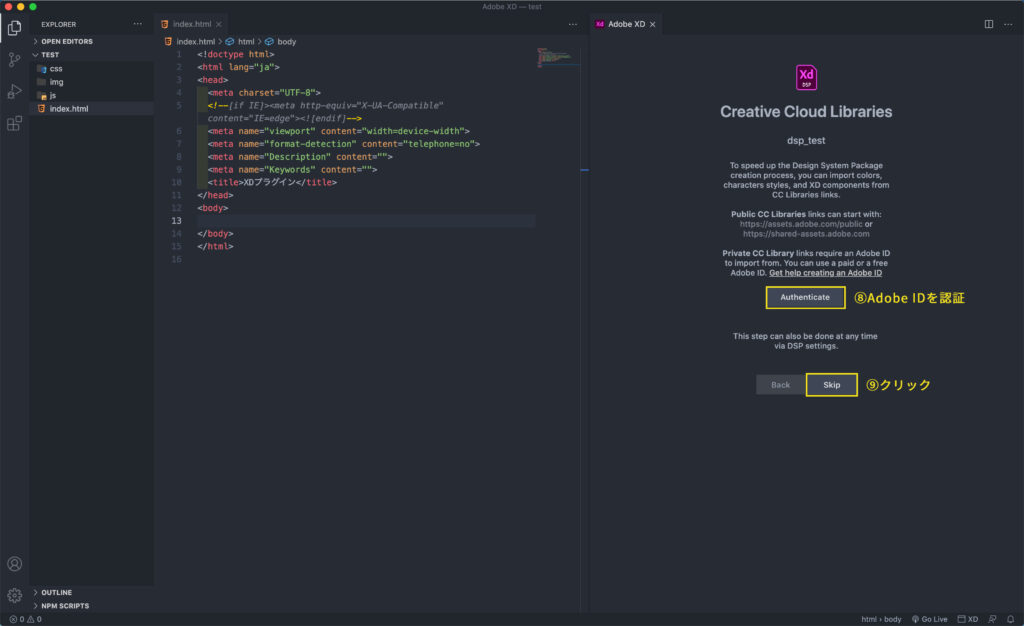
⑧Adobe IDの認証。Adobeの公式サイトが開くので「アクセスの許可」を行なってください。
アセットライブラリの読み込みを行わずにスニペットを作成する人は認証をスキップして問題ないです。
⑨次へ。

⑩XDを起動し、事前に準備しておいたアセットライブラリを開きます。
⑪アセットライブラリを公開。
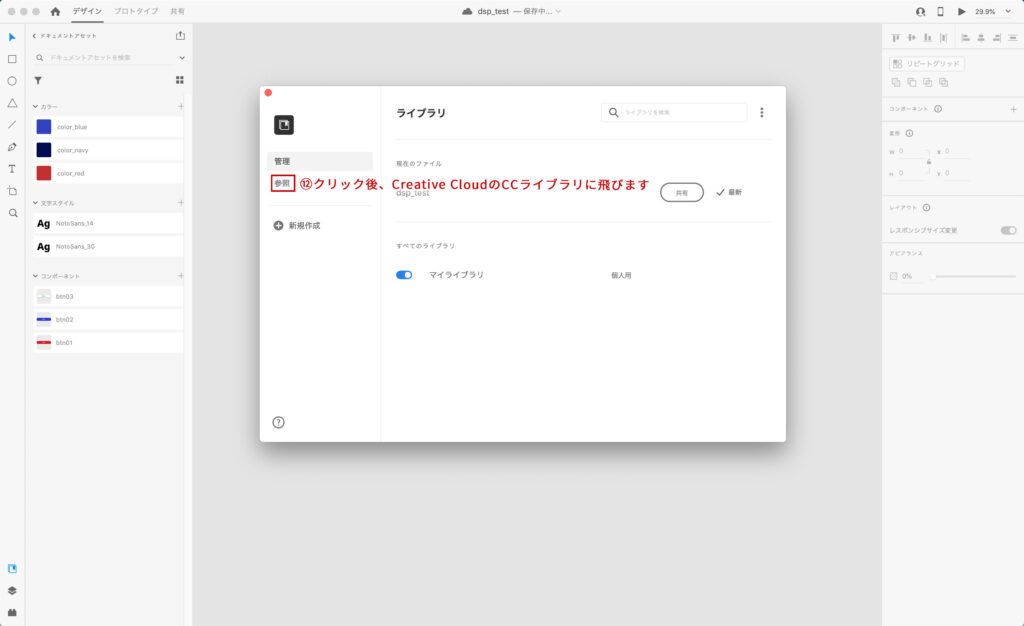
⑫「参照」からCreative Cloudに飛びます。
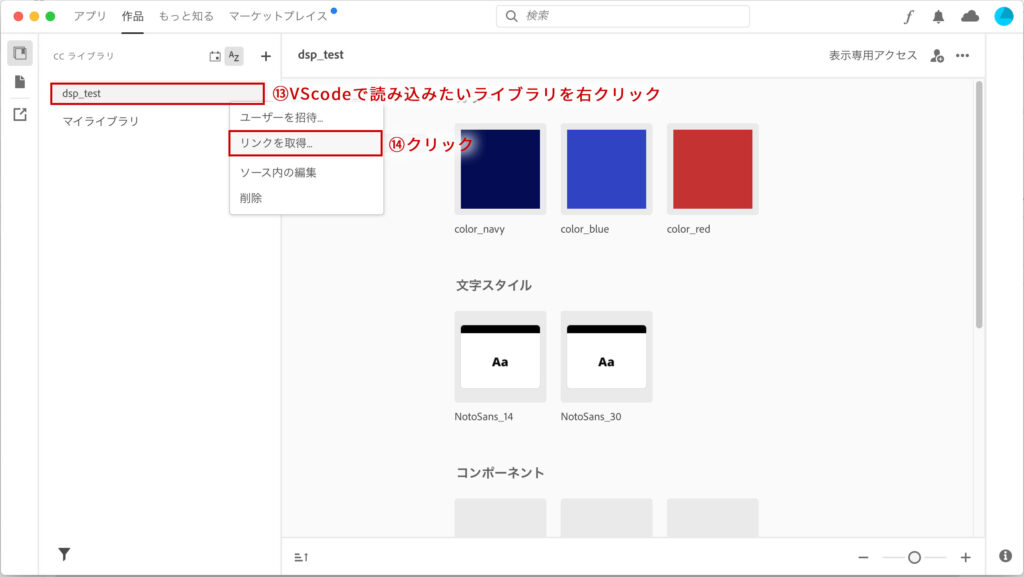
⑬Creative Cloudを開いた後、読み込みたいライブラリを右クリック。
⑭リンクを取得を選択。
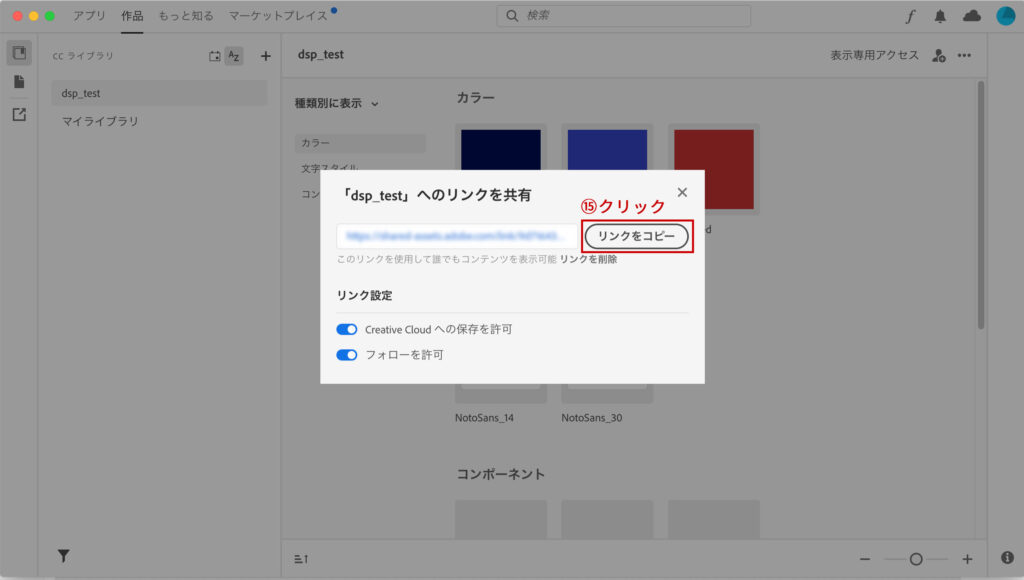
⑮リンクをコピー
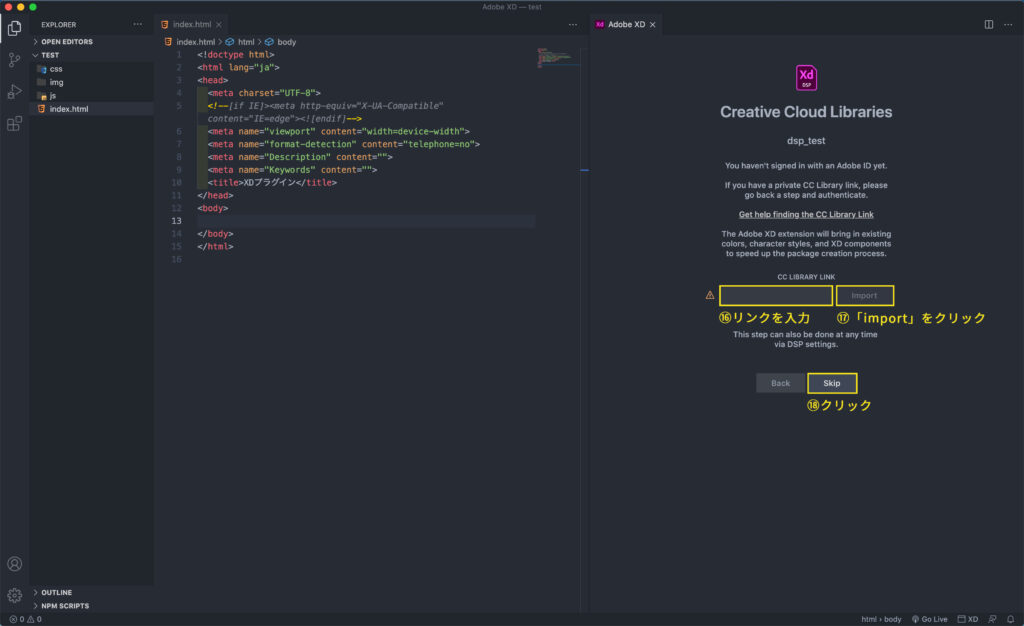
⑯VScodeに戻り、取得したリンクを入力。
⑰リンクをインポート。
⑱次へ。
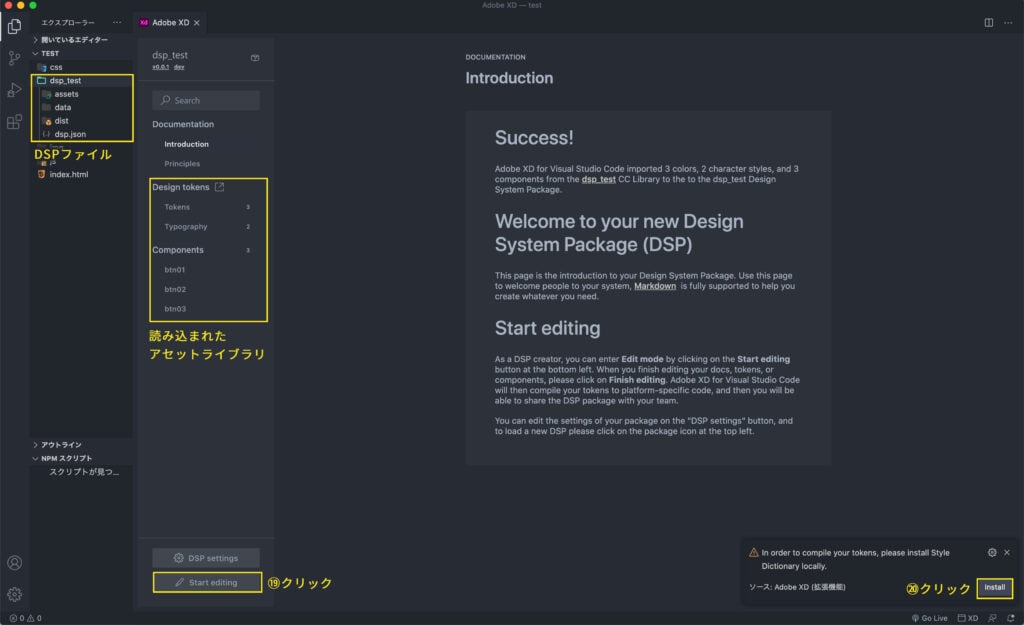
⑲アセットライブラリが読み込まれたことを確認し、クリック。
⑳Style Dictionaryをインストール。
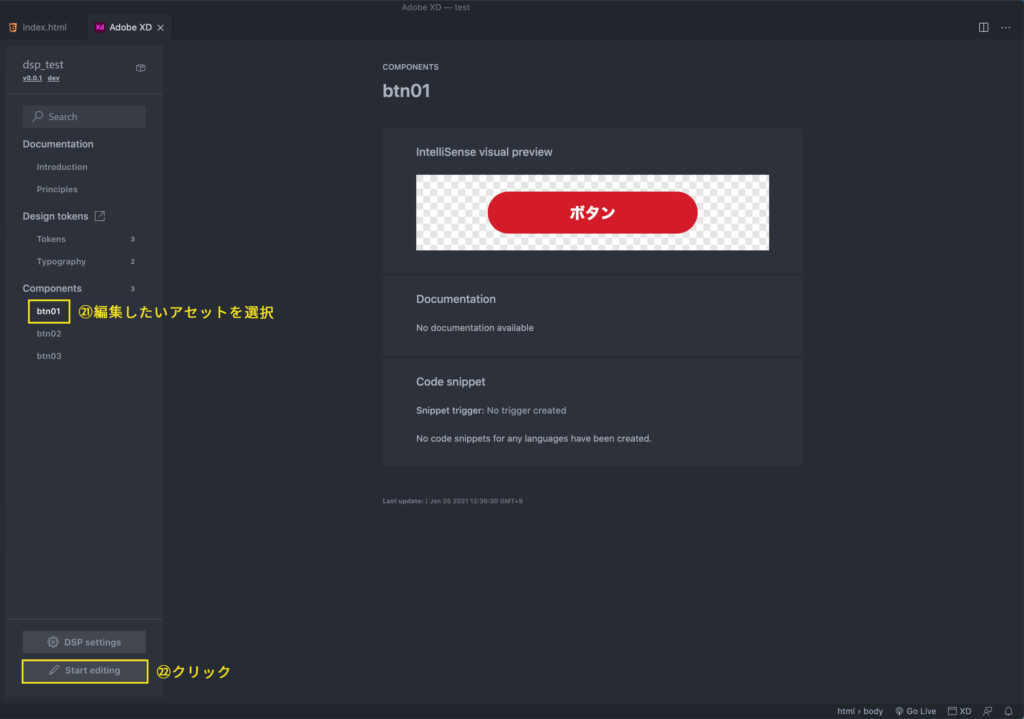
㉑読み込んだアセットライブラリから編集したいアセットを選択。
㉒クリック。
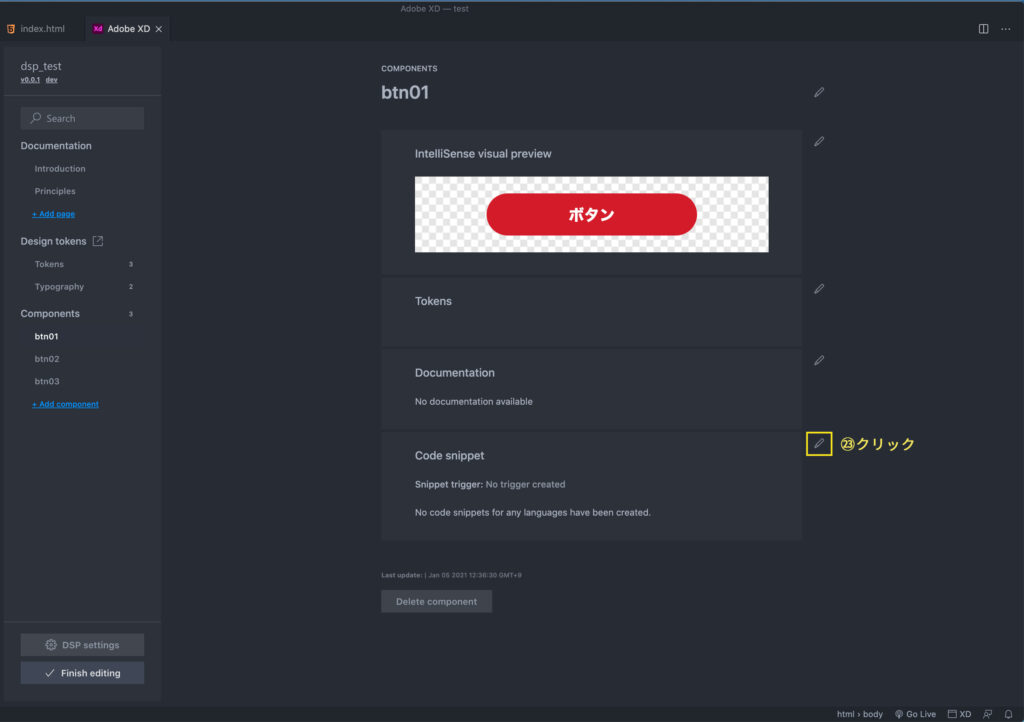
㉓スニペットを編集。
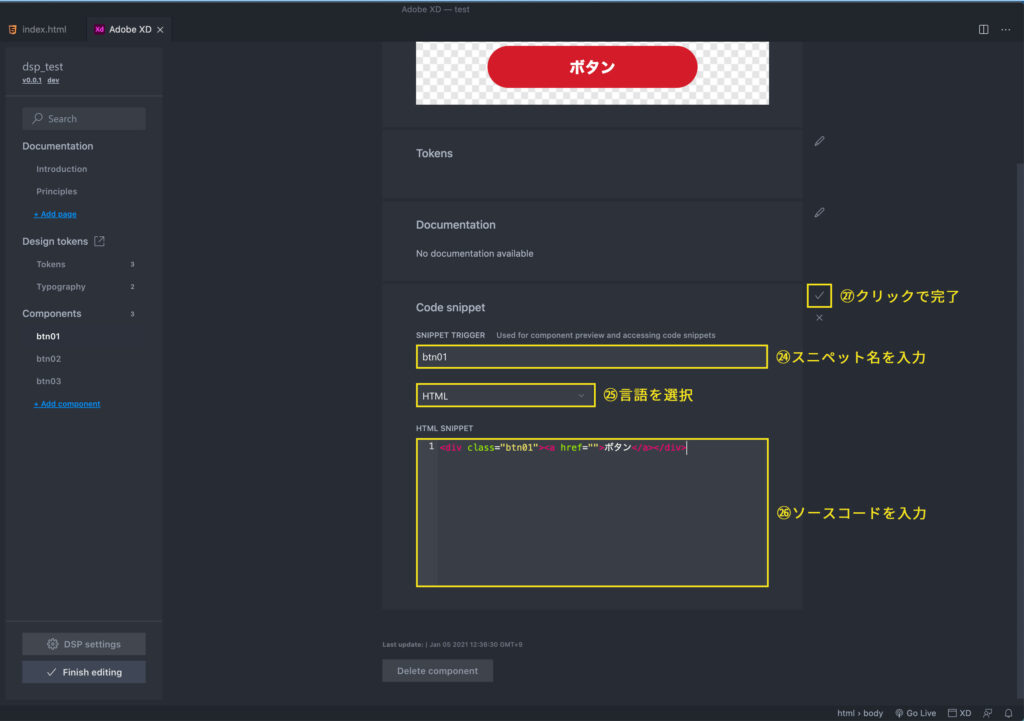
㉔スニペット名を入力。(最終的には入力したスニペット名の頭に”xd_”が付きます。)
㉕言語を選択。
㉖ソースコードの入力。
㉗スニペットの編集を完了する。
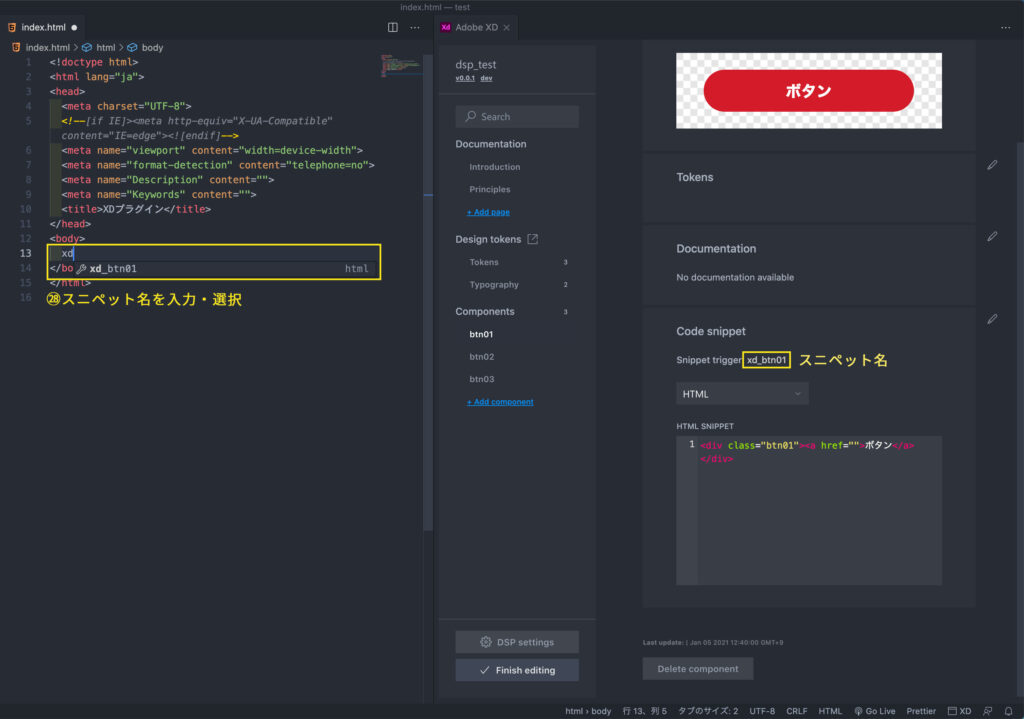
㉘スニペット名を入力し呼び出します。
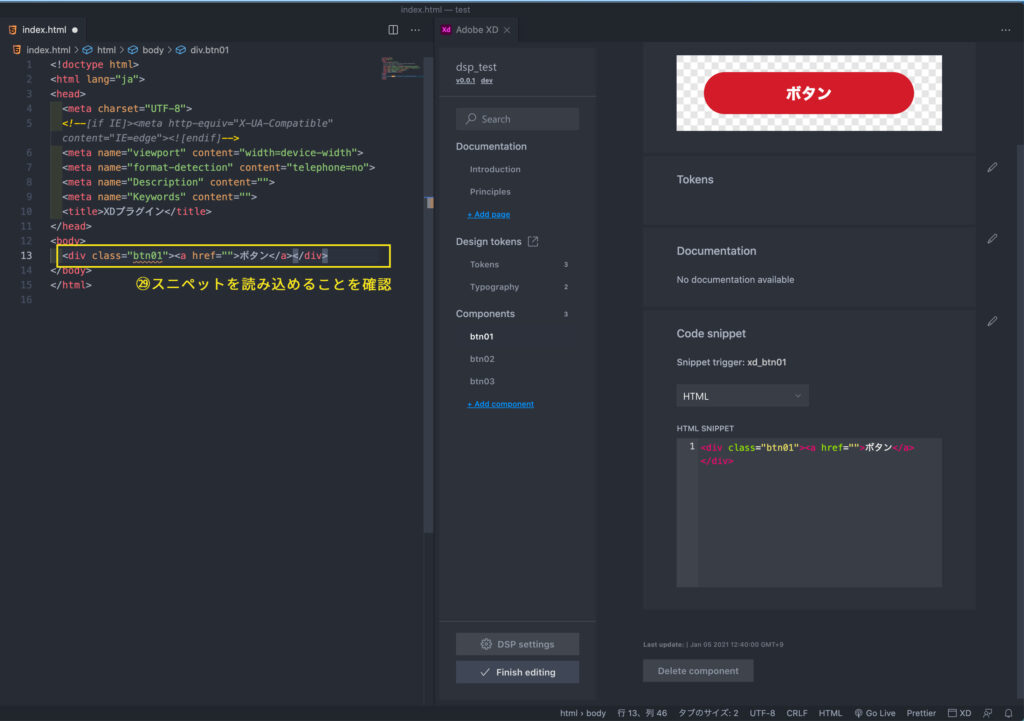
㉙スニペットが読み込めることを確認
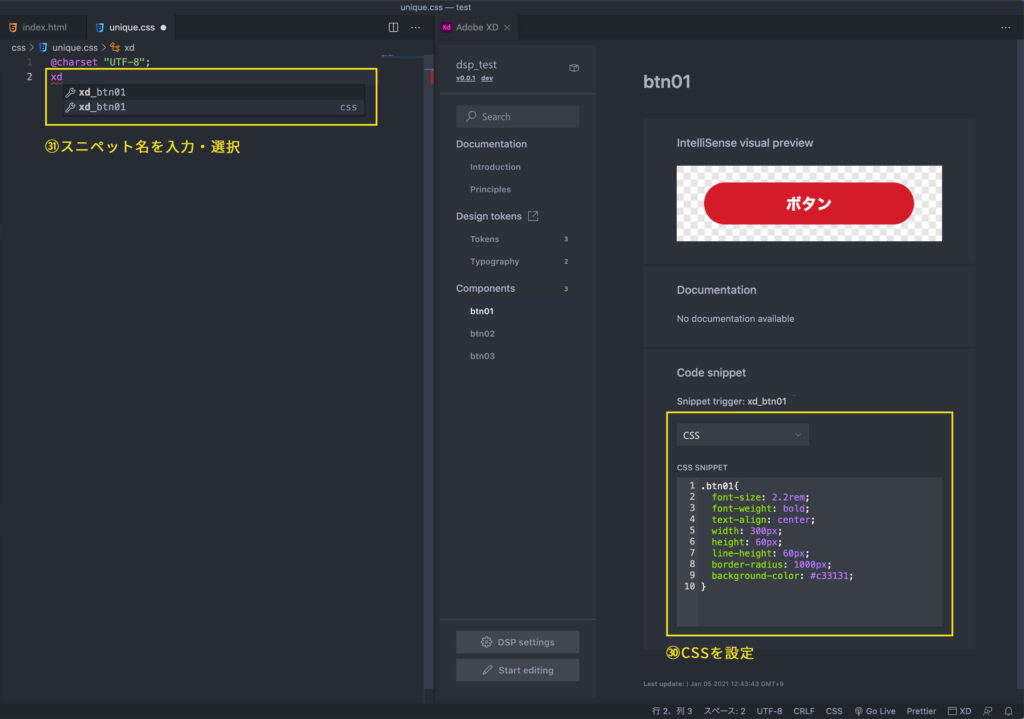
㉚他の言語も呼び出せるか確認。先ほどの手順でCSSを設定。
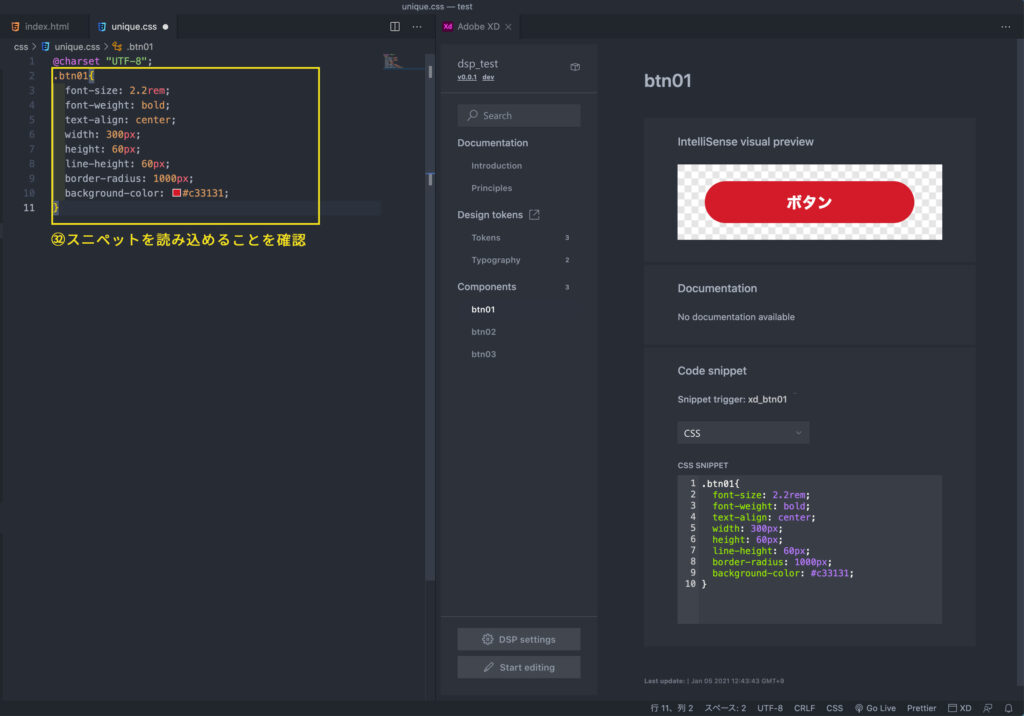
㉛スニペットを読み込めることを確認。
まとめ
スニペットの他にもカラーコードや文字サイズの管理ができるようです。
今後は、XDプラグインを利用してプロジェクトごとに管理を行いたいと思います。
また、アセットライブラリを読み込まずにスニペットを作成することもできるので、Adobe IDを持っていない人でもXDプラグインの利用自体は可能です。